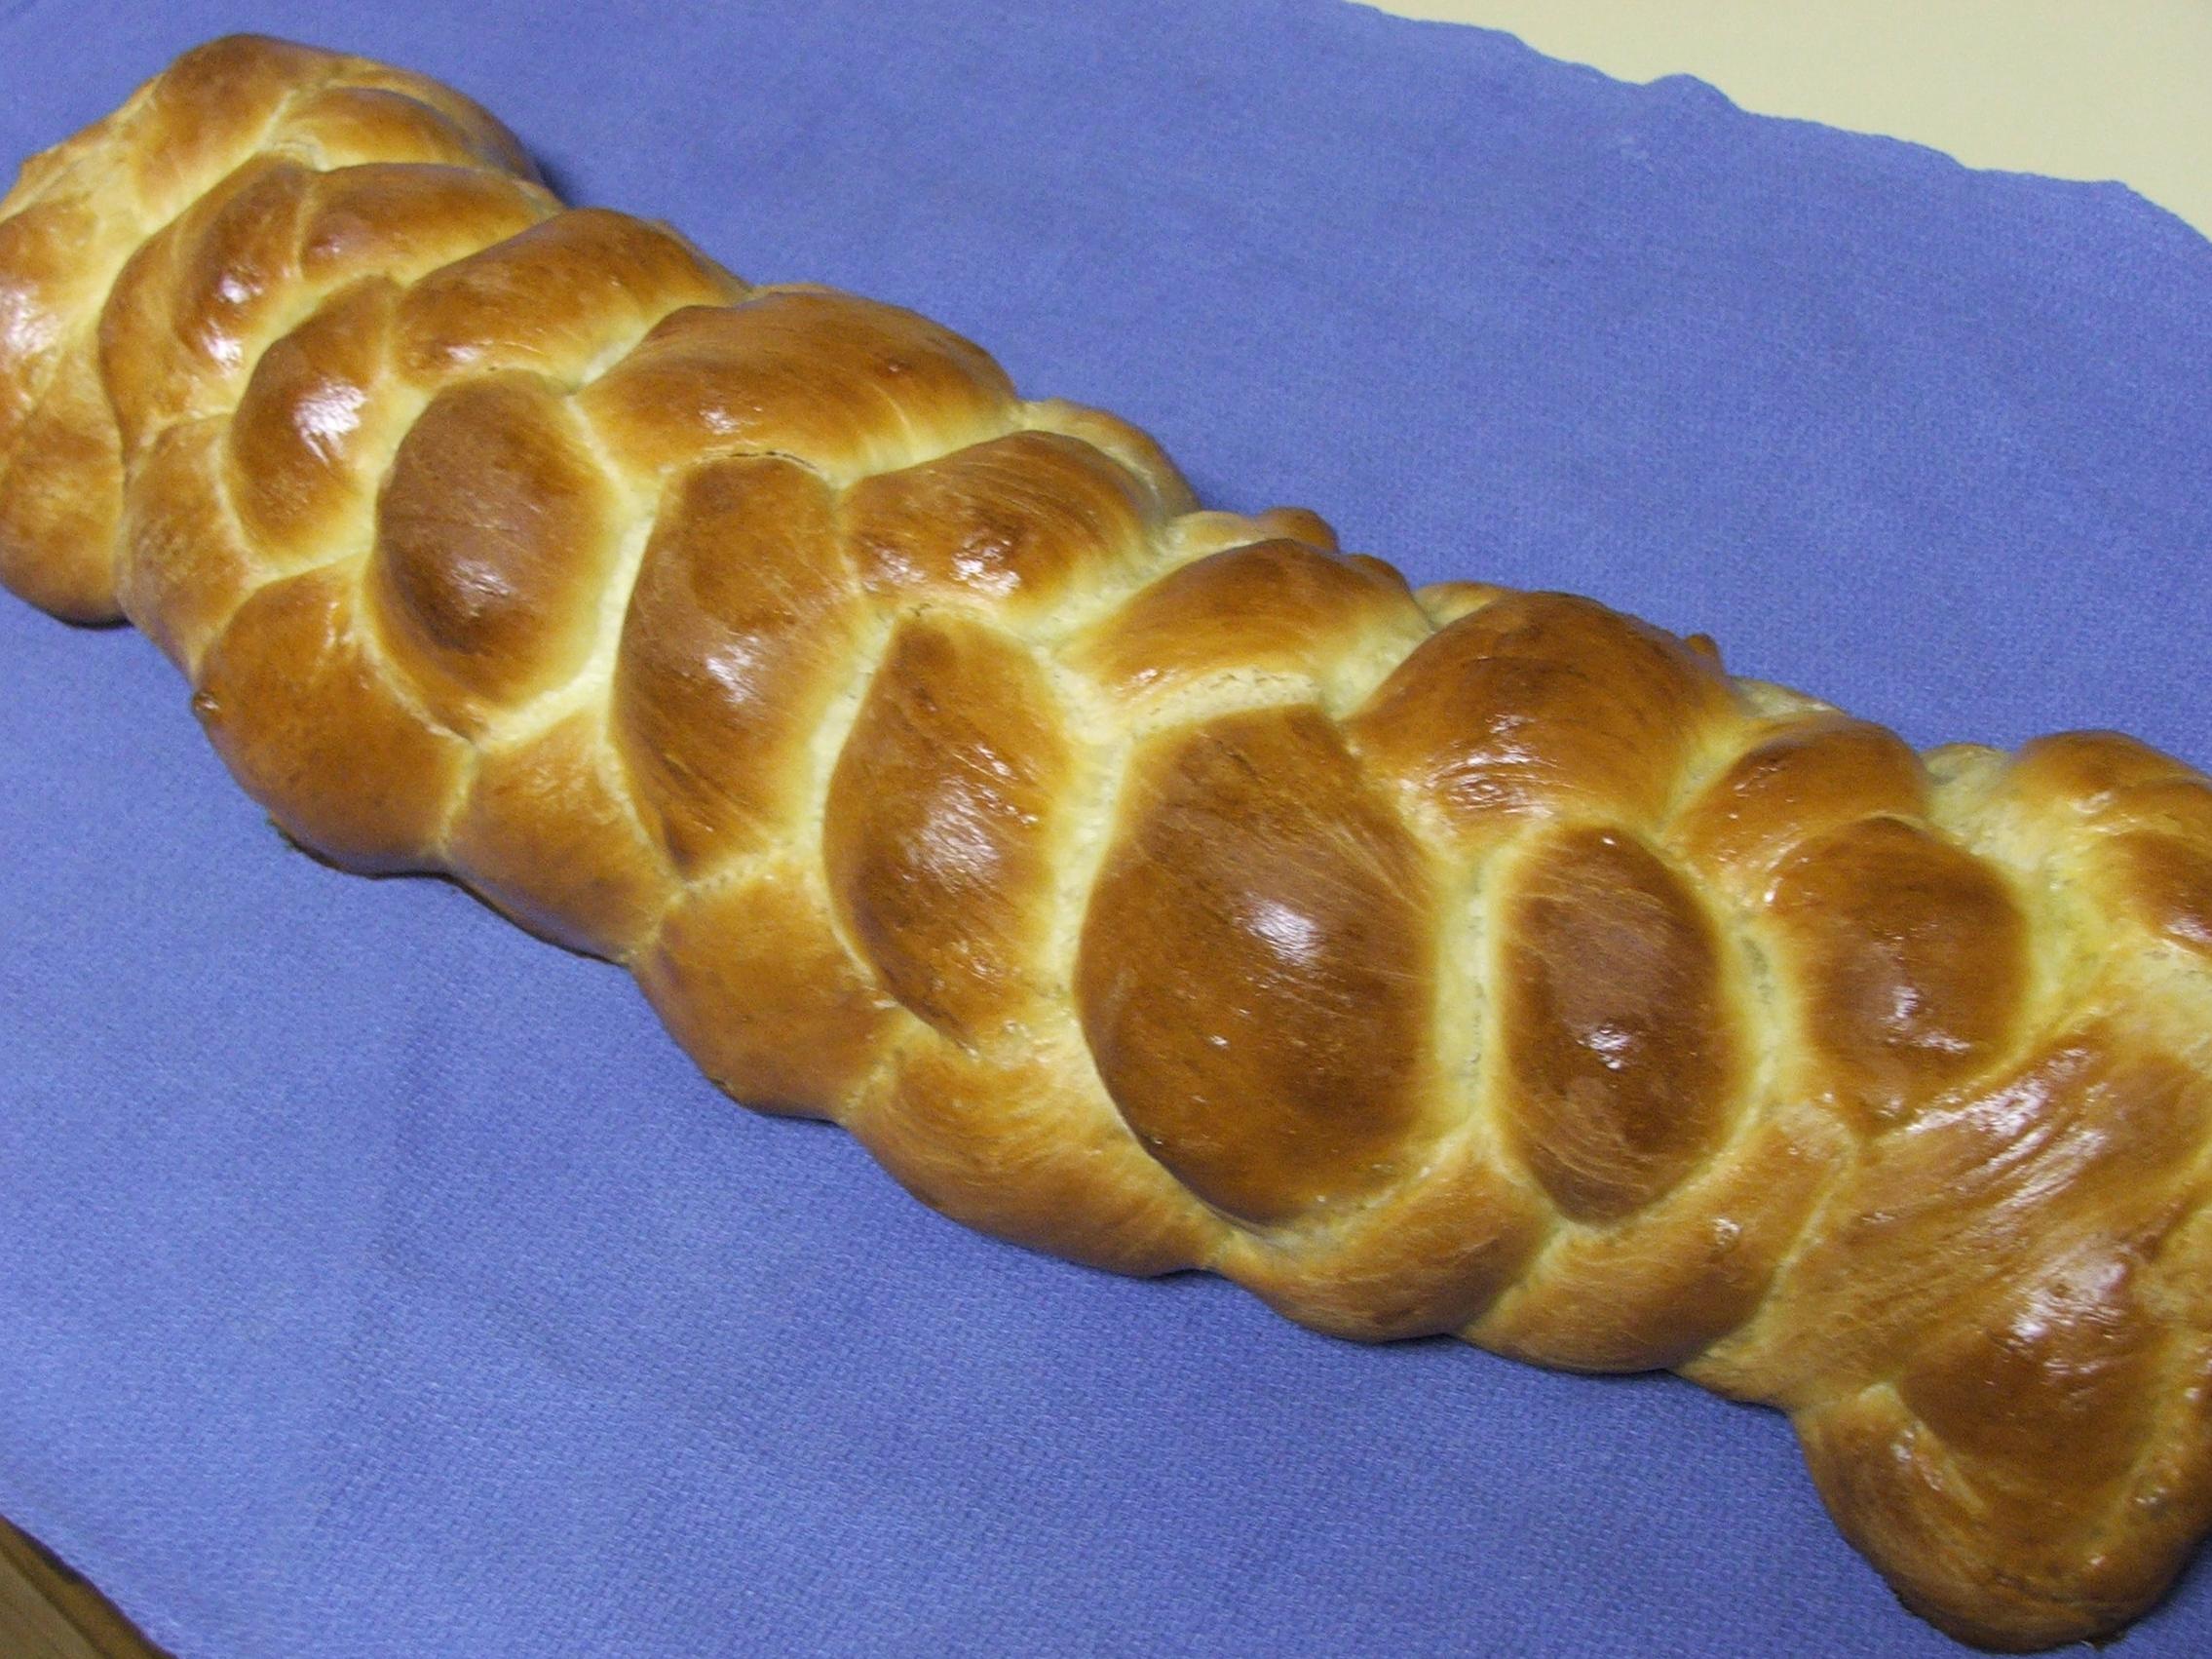
Heavenly Challah Recipe for a Truly Memorable Meal
Welcome to my High-Altitude Challah Recipe! As an Israeli chef, I have always enjoyed baking challah, a traditional Jewish bread. However, baking it at high altitudes can be a challenge as the atmospheric pressure is lower and the air is drier which affects the way the dough rises.
After years of experimentation, I have finally created the ultimate recipe for High-Altitude Challah. This recipe will provide you with a perfect loaf every time, even at high altitudes where baking can traditionally be trickier.
Not only is challah a staple at many Jewish holiday meals and Shabbat dinners, but it is also a beloved bread for many people around the world. Its rich taste and soft texture make it perfect for sandwiches or simply toasted with butter or jam.
I am thrilled to share this recipe with you so that regardless of where you live, you can now enjoy fresh and delicious challah without having to worry about the challenges of baking at high altitudes. So let’s get started and learn how to make the best High-Altitude Challah you’ve ever tasted!
Why You’ll Love This Recipe
Are you tired of baking bread that never seems to come out right? Do you live in a high-altitude location and struggle with perfecting your recipe due to the change in air pressure? Look no further than this high-altitude challah recipe!
With easy-to-follow instructions and only a handful of ingredients, this recipe is perfect for both novice and experienced bakers. Not only is the process simple, but the end result is a deliciously fluffy and delicious loaf of bread that will leave your taste buds singing.
But what exactly makes this challah recipe so unique? The answer lies in its ability to adapt to higher altitudes. The common problem with altitude baking is that rising times are often shortened due to low air pressure. However, with this recipe’s careful measurements and specific instructions, you’ll be able to adjust for those differences and create a perfectly fluffy and light challah no matter where you are.
But it’s not just about function; this recipe also brings flavor to new heights. With a touch of sweetness from the sugar and richness from the eggs and butter, each bite of this challah is an experience in itself. Toast it up or eat it fresh out of the oven – either way, you’re in for a real treat.
So why will you love this recipe? Because it’s easy to make, adapts flawlessly to high altitudes, and brings an explosion of flavor to your taste buds. It’s the best challah bread you’ll ever try – trust me on this one.
Ingredient List
Before getting started with the recipe, it is important to gather all the necessary ingredients. Here are the ingredients needed for this High-Altitude Challah Recipe:
Dry Ingredients
- 2 (0.25 ounce) packages of Active Dry Yeast
- 3 tablespoons of White Sugar, divided
- 1 teaspoon of Salt
- 6 cups of All-purpose Flour
- 1 teaspoon of Baking Powder
- 1/2 teaspoon of Baking Soda
Wet Ingredients
- 2 Eggs + 2 Egg Yolks
- 1/4 cup of Butter, melted
- 2 cups of Milk (at room temperature)
- 1/2 cup of White Sugar
Other Equipment Needed
- Bread machine (optional)
- Mixing bowl
- Measuring cups and spoons
- Rolling pin
- Kitchen scale (recommended)
Make sure to measure everything precisely to achieve perfect results.
The Recipe How-To
To start making altitude challah, you first need to measure your ingredients. I usually weigh out my flour and other dry ingredients, but keep in mind that it’s not necessary if you don’t have a kitchen scale. In a large mixing bowl, whisk together the flour, salt, and baking powder (optional).
In a separate mixing bowl or a stand mixer fitted with the paddle attachment, combine 2 tablespoons of active dry yeast, 1/2 cup of white sugar (divided 2:1), and 2 cups of warm water (110 degrees F). Let this mixture sit until foamy, about 5 minutes.
Add in 2 eggs, 2 egg yolks, and 3 tablespoons of white sugar (divided 2:1) to the yeast mixture, followed by 1/4 cup of melted butter (cooled slightly) and 2 cups of lukewarm whole milk. Mix well to ensure it is all combined.
Slowly add in the flour mixture to the wet mixture, a little at a time, while mixing continuously either by hand or with a dough hook (if using a stand mixer). Knead the dough for several minutes until it becomes smooth and elastic but not too sticky.
Proofing the Dough
Form the dough into round shape and place it in a greased bowl. Cover this with plastic wrap then let it rise until doubled in size (usually takes around one hour).
After one hour, turn out the ball onto another lightly floured board which has been sprinkled with cornmeal or flour. Punch down gently on the dough to remove any bubbles.
Next, divide your dough into three long equal pieces to make bread braids.
Baking Tips
Preheat your oven to 375 degrees F. Once your altitude challah has formed into braids, let them proof again for another ten minutes before brushing them with egg wash (mix an egg yolk with water).
Bake this braided bread until golden brown and shiny on top (usually takes about 35 minutes at sea level). Be sure to rotate it every so often for even cooking.
Let cool before slicing into it!
This recipe makes one of the best challah recipes out there – perfect for any Sabbath meal or special occasion dessert!
Substitutions and Variations
As with any recipe, there are always substitutions and variations that one can make to accommodate dietary restrictions or personal preferences. In the case of this high-altitude challah recipe, there are a few options worth considering.
If you are looking to make this bread recipe without eggs, there are a few things to keep in mind. Eggs serve as a binding agent and provide moisture to the dough, so it is important to find a suitable replacement. One option is to use applesauce or mashed bananas in place of the eggs. Another alternative is to use a vegan egg replacer which can be found at most grocery stores.
For those who prefer whole-grain bread, substituting some or all of the all-purpose flour for whole wheat flour is an option. However, it’s worth noting that this will result in a denser bread due to the presence of more bran in whole wheat flour.
To add a twist to your high-altitude challah recipe, try incorporating different flavors into the dough such as cinnamon or cardamom for an added dimension of flavor. Alternatively, you could add dried fruits or nuts for some texture and sweetness.
Finally, if you do not have access to a bread machine or prefer not to use one, you can still make high-altitude challah with just your hands and a mixing bowl. This may require additional kneading and rising time but will result in a more traditional homemade feel.
It is essential when making substitutions and variations that you experiment with different ratios of ingredients until you find what works best for your taste preferences and cooking environment.
Serving and Pairing
Once you’ve taken your altitude challah out of the oven, it’s time to delight in its golden brown color and exquisite aroma. Since Challah bread is slightly sweet, it is a versatile loaf of bread that can be paired with almost anything. A slice of freshly baked challah pairs perfectly with a hearty soup for dinner or toasted with butter and jam for breakfast. The bread’s soft interior makes it ideal for making sandwiches or even indulging in French toast.
If you’re feeling adventurous, try indulging in some chocolate-filled challah or marzipan challah which can be purchased from local bakeries or made at home by braiding marzipan into the dough before baking.
Pairing wines with Challah can be tricky given the various flavors of the bread. However, an exceptional pairing would be Chardonnay, Pinot Noir or Cabernet Sauvignon. For non-alcoholic options, try tea, coffee or apple cider to accompany the sweet flavor of the altitude challah.
Finally, when serving your altitude challah, consider pairing it with sliced cheese, sliced apple pieces or honeycomb for added texture and taste. Truly there is no wrong way to serve it!
Make-Ahead, Storing and Reheating
One of the great things about this high-altitude challah recipe is that it can be prepared ahead of time and stored for later use. If you’re planning on making this recipe in advance, here are a few tips that will help you get the most out of your dough.
First, if you want to make the dough ahead of time, I recommend storing it in the refrigerator. This can be particularly useful if you’re busy during the week and want to have fresh bread for Shabbat. You can make the dough a day or two beforehand and keep it in an airtight container in the fridge until you’re ready to bake.
When it’s time to bake the challah, simply take the chilled dough out of the fridge, let it come to room temperature, and then shape it into loaves or braids. The rising time may be a bit longer because the dough is cold, but this shouldn’t affect the final product.
If you find yourself with leftover challah, don’t worry! It can easily be stored at room temperature for a few days or even frozen for longer periods. To store your challah properly, wrap it tightly in plastic wrap or an airtight container to prevent it from drying out.
When you’re ready to reheat your bread, there are several options available. To warm up individual slices, I recommend using a toaster or putting them under the broiler for a short time until they’re warm and slightly crispy. For larger loaves or braids, you can put them in the oven at 350°F (180°C) for 5-10 minutes until they’re heated through.
Remember that reheating your bread won’t restore its original freshness, but it will still taste delicious and make a perfect addition to any meal. With these storing and reheating tips in mind, you’ll always have fresh high-altitude challah on hand whenever you need it.
Tips for Perfect Results

As an Israeli chef who has lived and worked in higher altitudes, I have learned a few tips and tricks to ensure the perfect results for baking high-altitude challah.
The first tip I can give you is to adjust the amount of yeast. Higher altitudes experience lower air pressure which affects how yeast leavens bread dough. Based on my experience, it is best to decrease the amount of yeast by 1/4 to 1/2 of what is called for in standard recipes at sea level.
Secondly, try using baking powder or baking soda along with active dry yeast. This combination helps with the rising process at higher altitudes.
It is also helpful to add some extra liquid, especially milk or eggs, to keep the dough moist during the rising process as high altitude baking tends to soak up moisture faster.
Another important factor is adjusting the oven temperature. Since high altitude challah bakes differently than sea-level challah, I recommend lowering the temperature by about 15-25 degrees Fahrenheit than what a standard recipe calls for.
Moreover, it’s important to adjust rising time when making challah dough in different altitudes. Generally, rise times will be shorter at higher altitudes but plan on checking your dough frequently for its readiness and adjusting as needed.
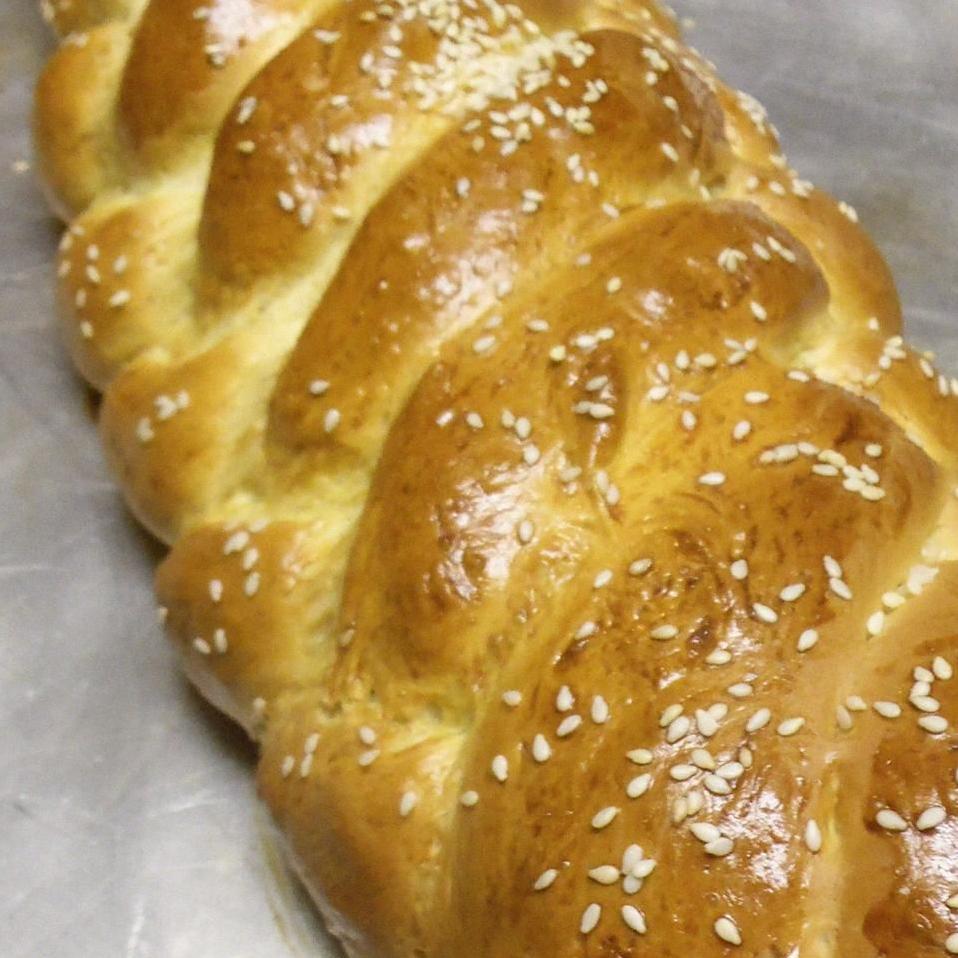
Lastly, try adding some marzipan or nuts into your challah dough topping for added flavor and texture. Also, consider braiding your challah dough in different ways such as three-long or four-long braids for variation in appearance and taste.
I hope these tips will help you achieve the best possible high altitude challah results that are beautiful, tasty, and true-to-form. Enjoy!
FAQ
Before we conclude this recipe article, let me answer some of the most frequently asked questions about high-altitude baking and making challah bread. Whether you’re a seasoned baker or a first-timer in the kitchen, these FAQs will help you understand the key principles and techniques behind this delicious and satisfying recipe. So, let’s get started!
How do you adjust yeast for high altitude?
To achieve the ideal dough texture, I recommend decreasing the yeast amount by a quarter and adjusting the water and flour levels accordingly. Ensure that the bowl you choose to use allows enough space for the dough to properly rise.
How much flour do I add to high altitude?
When baking at different altitudes, adjusting the ingredients is key to achieving a successful result. To do so, you may need to increase the amount of flour by up to 2 tablespoons per cup listed in the recipe. Additionally, for every cup of sugar and liquid, as well as every teaspoon of baking powder or baking soda, consider making necessary modifications. Keep in mind that larger or additional eggs can serve as a liquid ingredient, too. By being mindful of these adjustments, you can ensure that your baked goods come out perfectly, regardless of altitude.
How do you adjust high altitude baking?
When baking at high elevations, make sure to adjust your oven temperature accordingly, as this will impact the baking time. I recommend increasing the oven temperature by about 15 to 25 degrees Fahrenheit. However, keep in mind that baking goods at a higher temperature means they will cook faster, so you’ll want to shorten the baking time in the recipe by about 5 to 8 minutes per 30 minutes of baking time. In addition, it’s important to increase the amount of liquid in your recipe to compensate for the lower air pressure at higher elevations. For every 1000 feet of elevation above 3000 feet, add an additional 1 1/2 teaspoons of liquid.
What is the difference between high altitude flour and regular flour?
When cooking and baking at higher altitudes, there are certain challenges that one may face regarding flours and leavening agents. Flours may be drier in texture and have a greater potential to absorb moisture. Baked items, especially those containing baking powder, baking soda or whipped egg whites, can have a tendency to rise quickly and then unexpectedly collapse. Yeast-based bread dough may also rise more rapidly and overproof.
Bottom Line
In conclusion, this high-altitude challah recipe is definitely worth trying out. Not only is it an easy and fun recipe to make, but it also yields a delicious loaf of bread that will impress your family and friends. Don’t be intimidated by the thought of baking at high altitudes, as long as you follow the tips outlined in this article, you can successfully make this amazing bread.
So why not give it a shot? Experiment with different variations and substitutions to your liking. Whether you’re a professional baker or just starting out in the kitchen, this altitude challah recipe is guaranteed to satisfy your cravings for homemade bread. So go ahead, give it a try and let me know what you think.
Remember when baking, it’s not just about following the recipe. It’s about infusing love and passion into every step of the process. Take your time to enjoy the experience, put some good music on and savor the smells coming from your kitchen. Enjoy making this best challah!
If you have any questions or need any additional advice on how to bake at higher altitudes, please don’t hesitate to leave a comment below or visit crecipe.com for more altitude baking tips.
Lastly, I want to wish you all good luck in making this delicious high-altitude challah bread! May your braids be long and beautiful, and may your belly be full of warm, freshly baked bread. Happy baking!
High-Altitude Challah Recipe
Ingredients
- 1/2 cup warm water (110 degrees F)
- 3 tablespoons white sugar, divided
- 2 (1/4 ounce) packages active dry yeast
- 2 eggs
- 2 egg yolks
- 1/3 cup milk (as needed)
- 1/4 cup butter, melted
- 1 1/2 teaspoons salt
- 3 1/2 cups all-purpose flour
- 1 egg
Instructions
- Combine the warm water, 1/2 teaspoon of sugar and the yeast in a measuring cup. Let stand until the yeast dissolves and starts to foam, 5 to 10 minutes.
- In a large bowl, beat 2 eggs. Put the egg yolks in a 1/3 measuring cup and add enough milk to equal 1/3 cup with the yolks in it. Pour this into the bowl with the eggs and pour in the yeast mixture, butter, salt, and remaining (2 tablespoons + 2 1/2 tsp.) sugar. Gradually mix in the flour until the dough is firm enough to handle.
- Knead the dough on a floured surface until the dough does not stick to your hands. You will probably use more flour while kneading.
- Place the dough into an oiled bowl and turn to coat. Cover and let rise until doubled in size, about 1 hour.
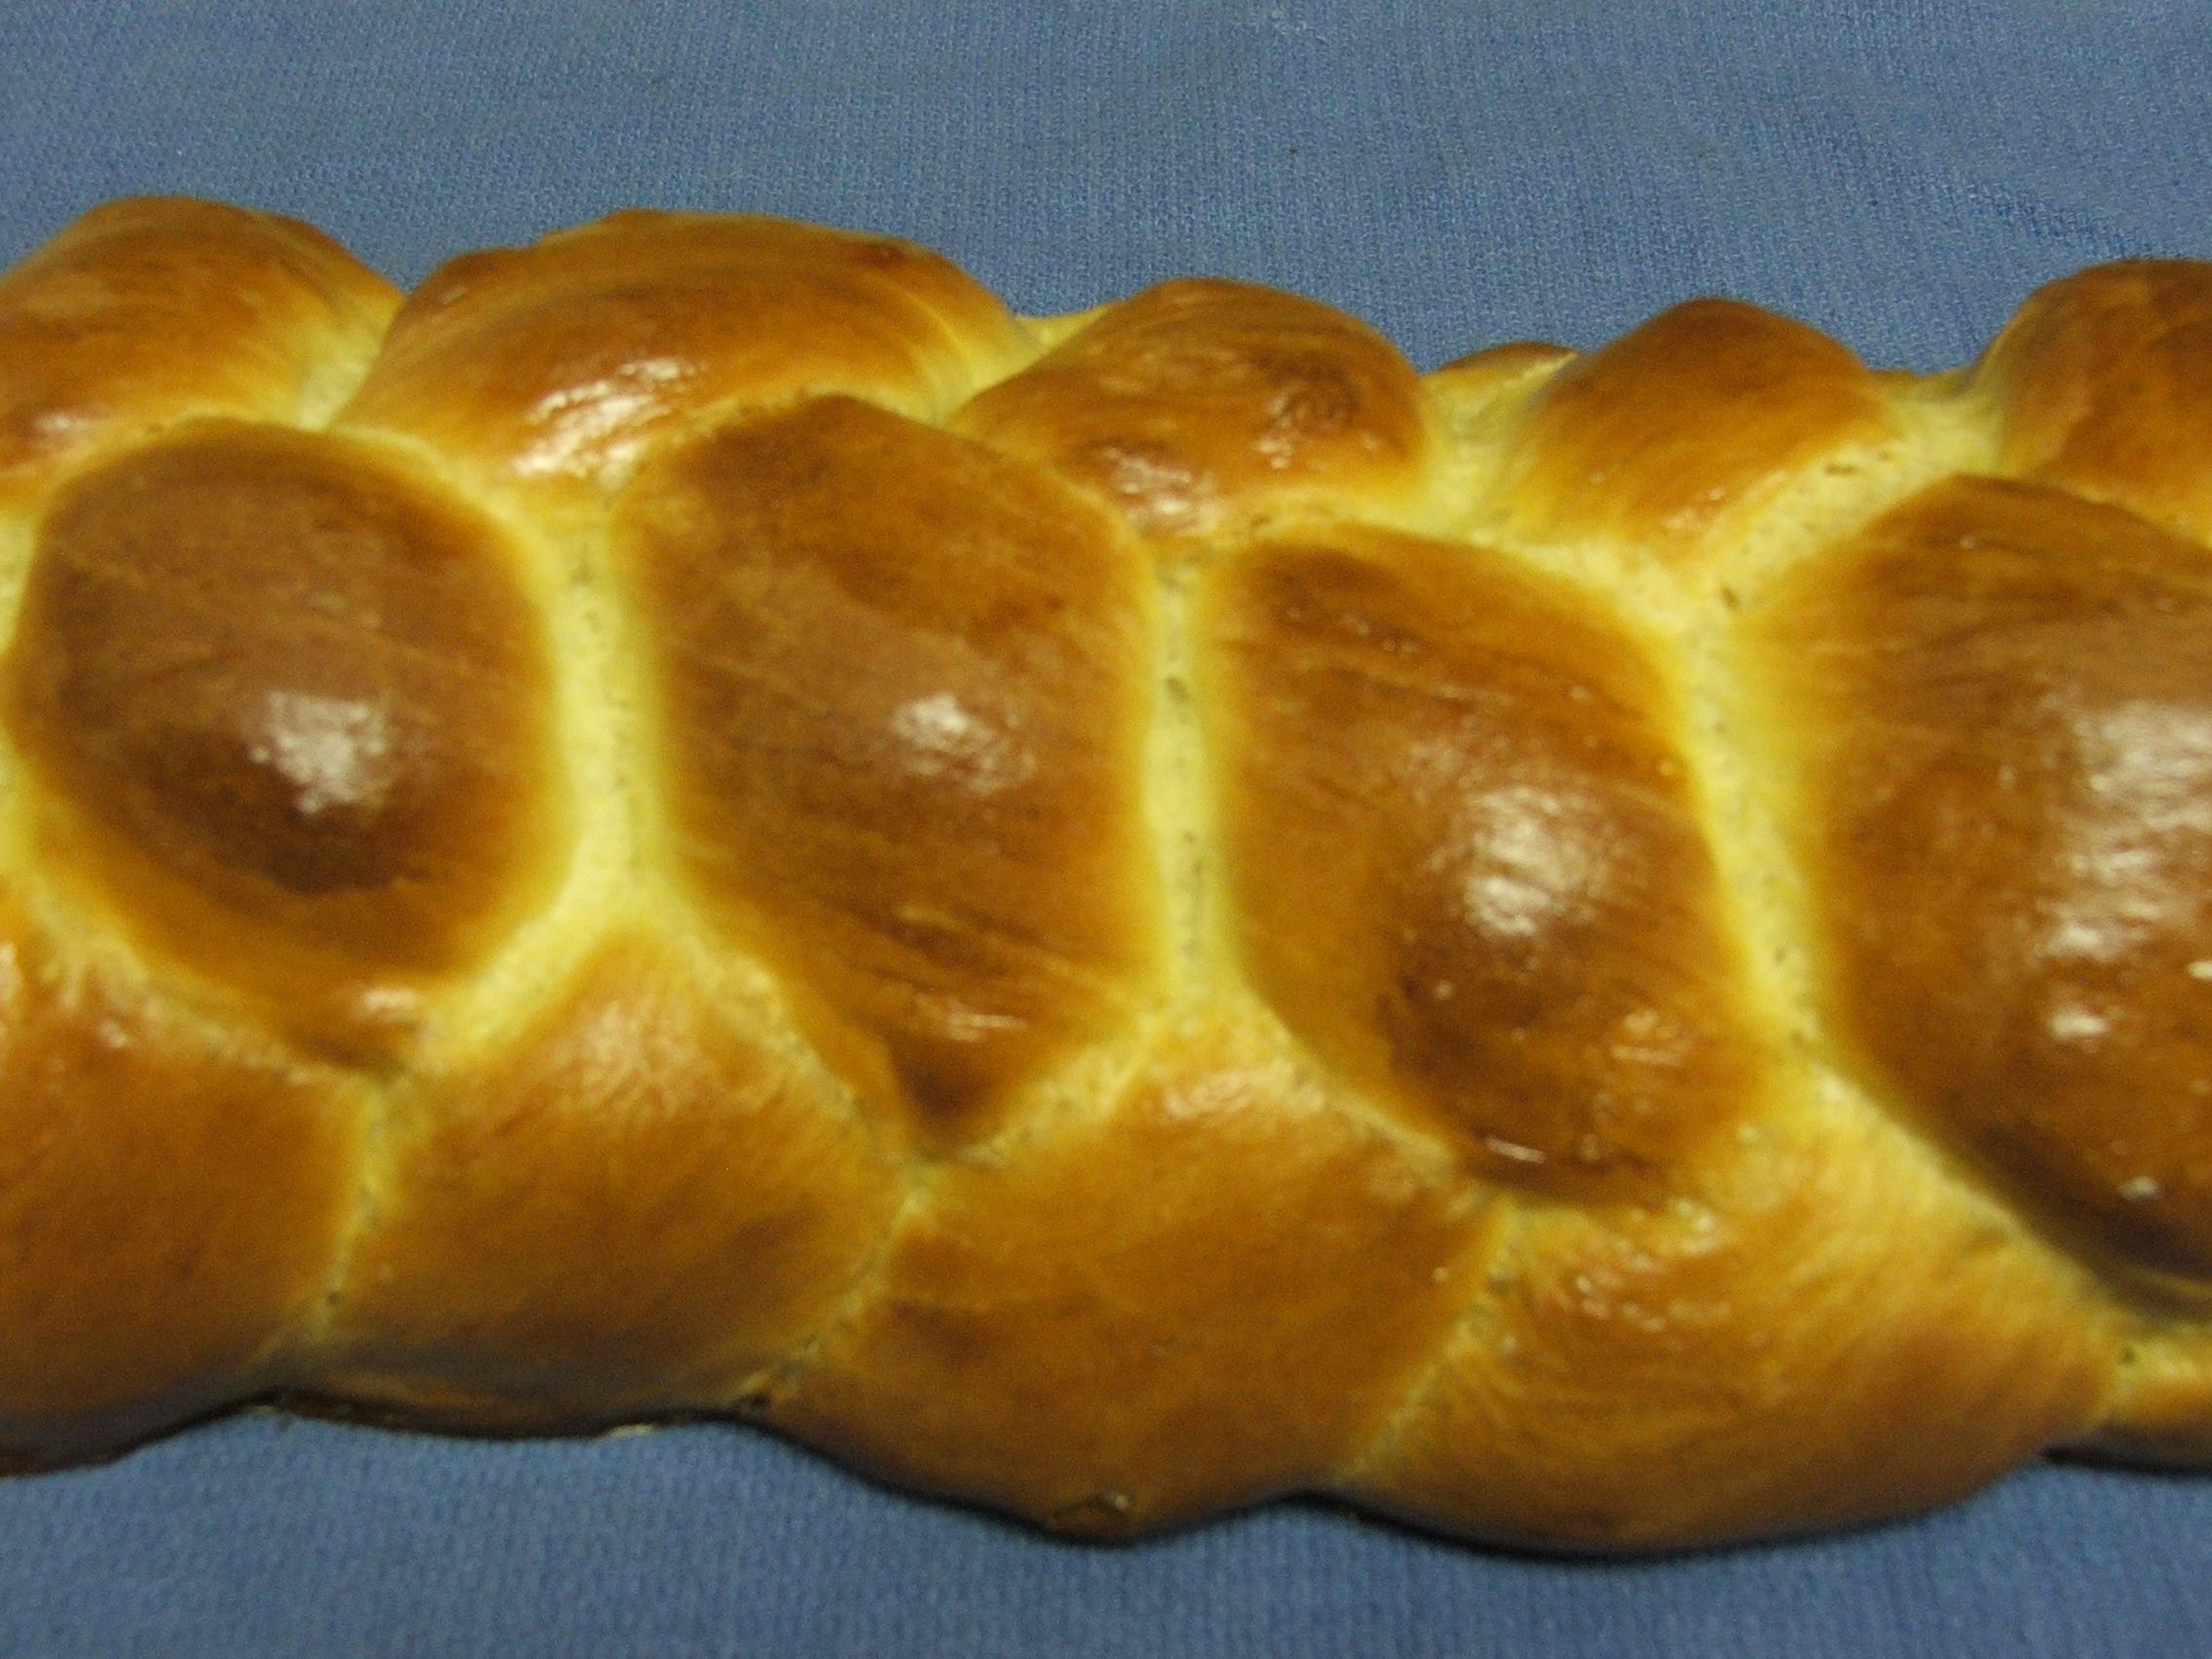
- Cut the dough into 3 even portions and roll into long ropes. Press one set of ends together, and braid and tuck the other set of ends under, pressing gently (see the intro, above, for a video link to braiding a six-strand challah).
- Place the loaf on a greased baking sheet and cover loosely with plastic wrap. Set in a warm place to rise. Bread is ready to bake when your finger leaves an impression in the dough.
- Preheat the oven to 350 degrees F.
- Whisk the remaining egg in a small bowl. Brush onto the loaf. This will give the bread a lovely golden color and delicious crust.
- Bake until the loaf is golden and the loaf sounds hollow when tapped on the bottom, about 35 minutes. Remove from the baking sheet and cool on a wire rack.
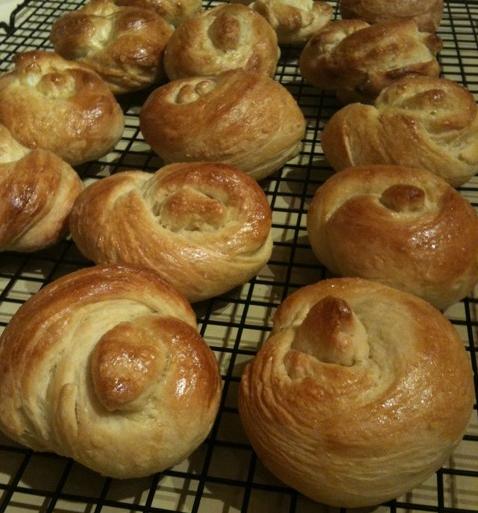
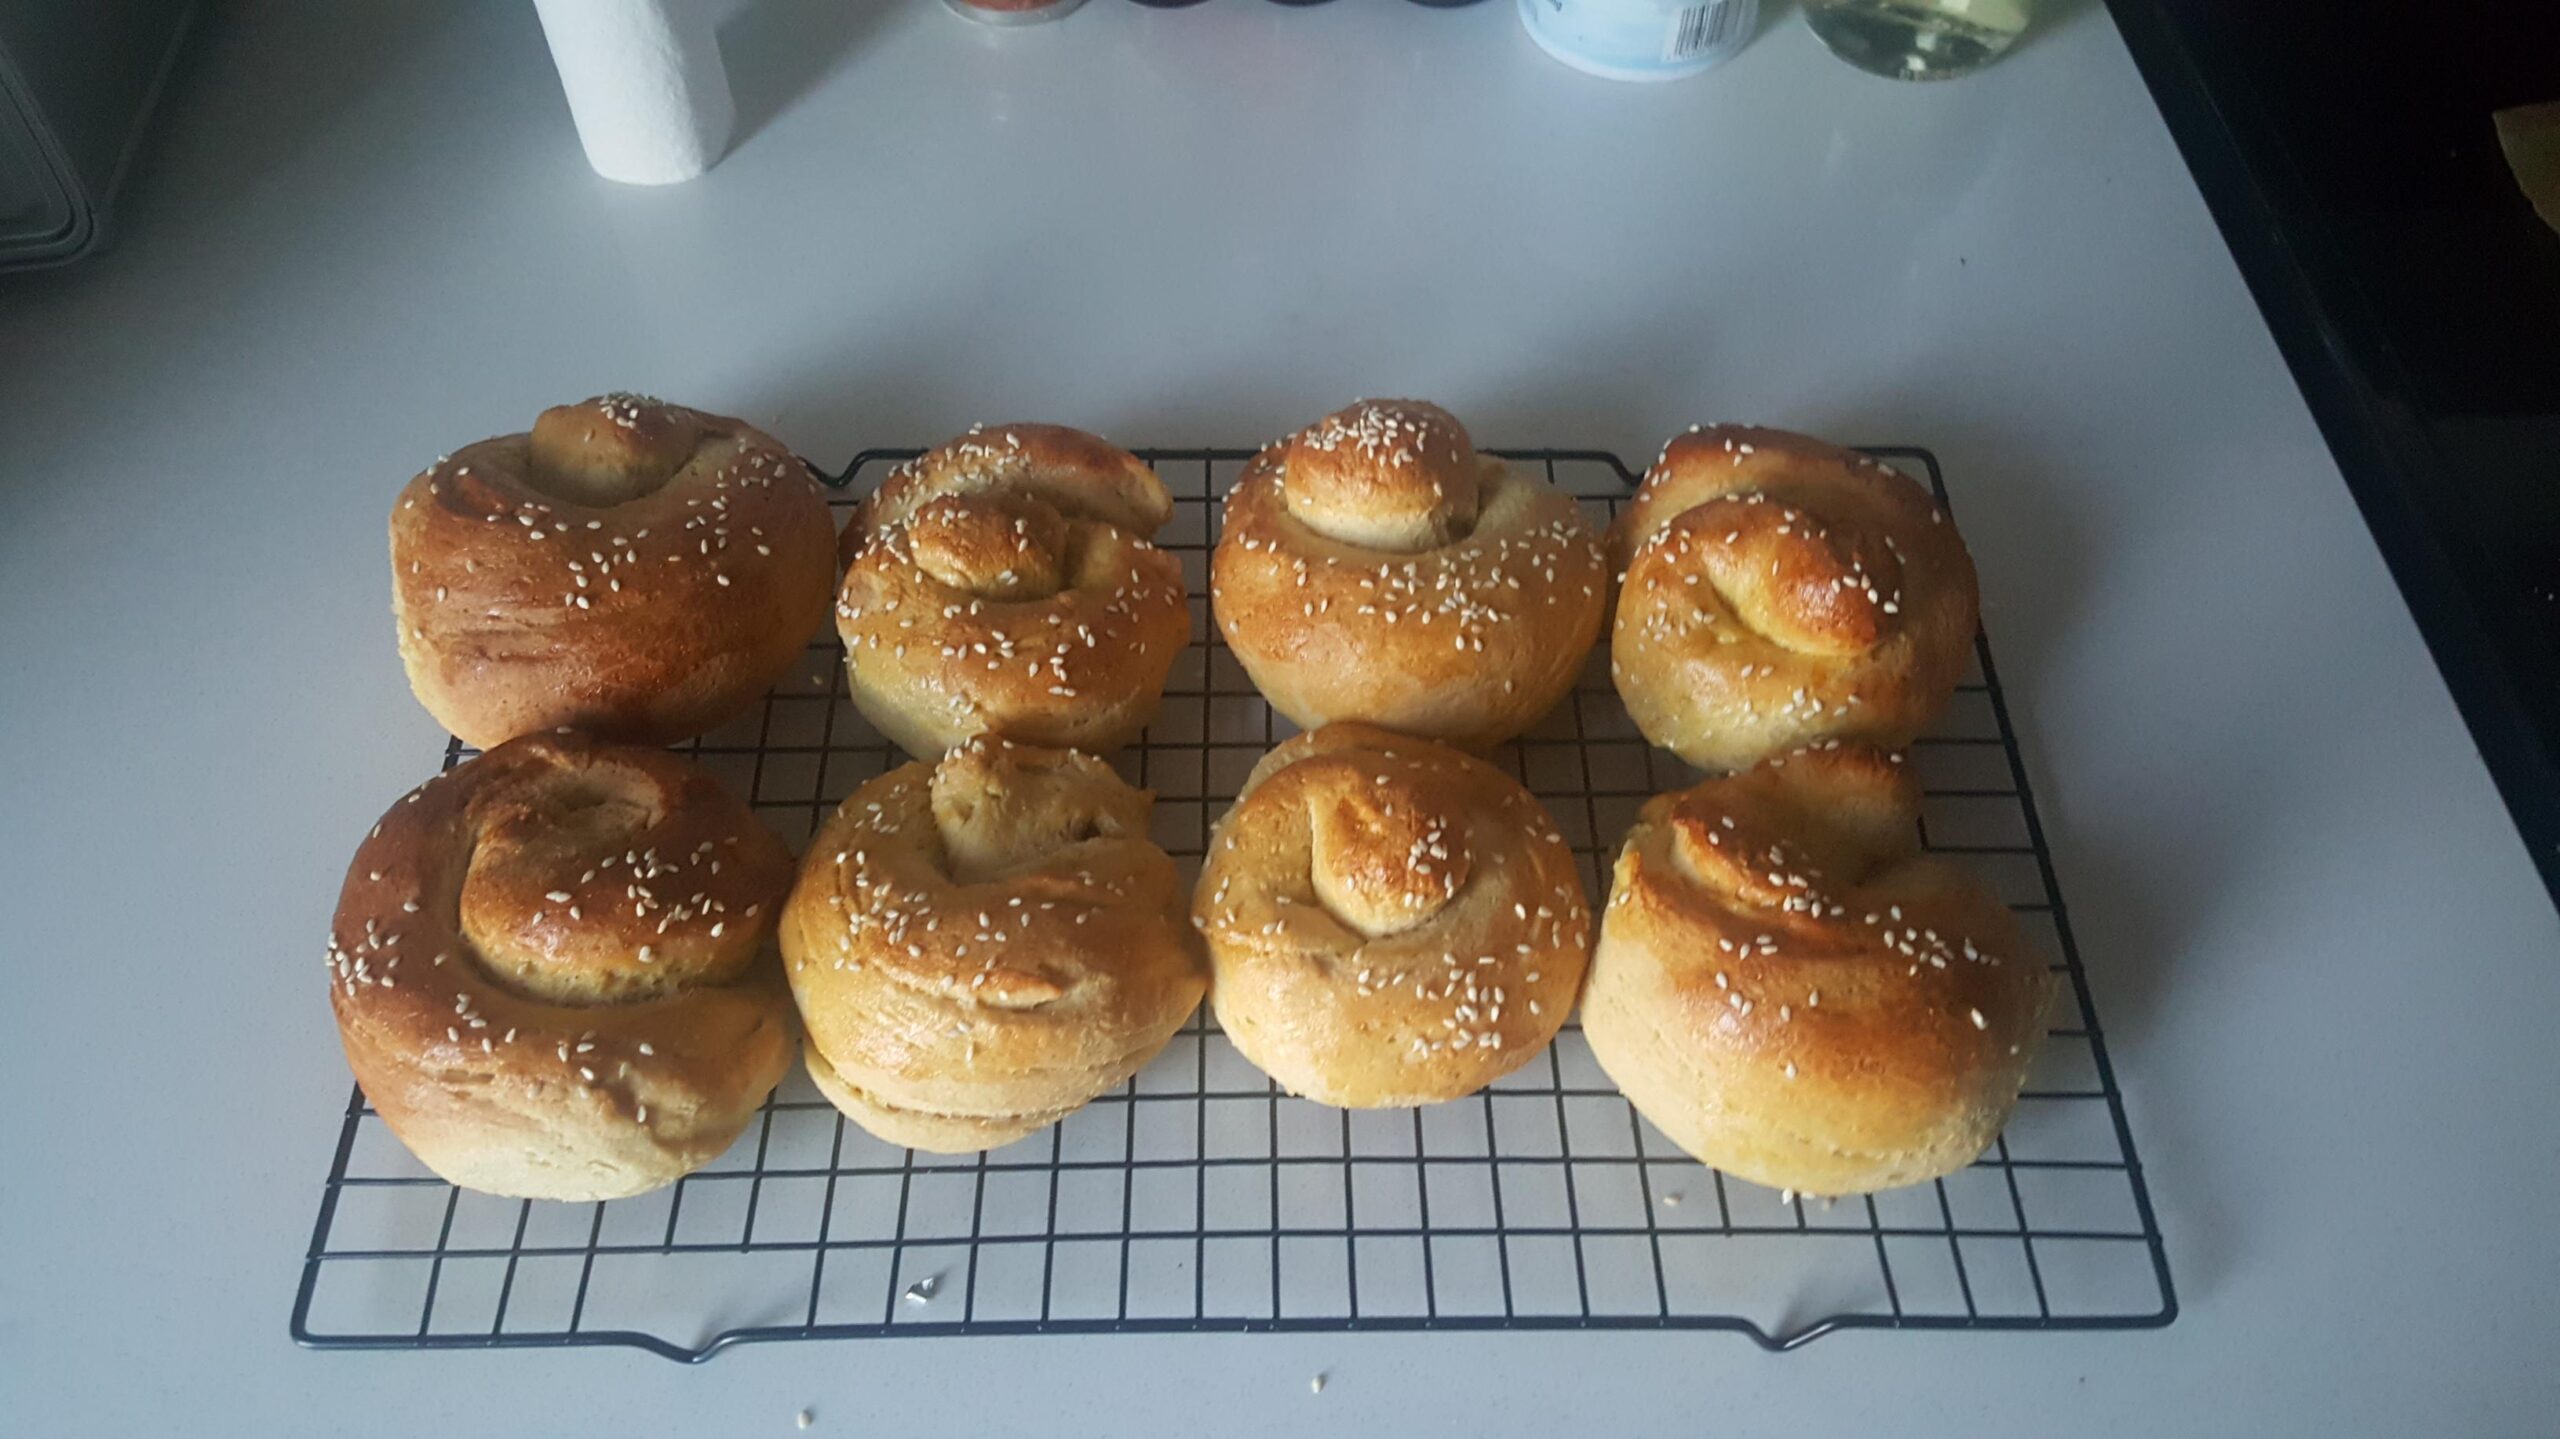
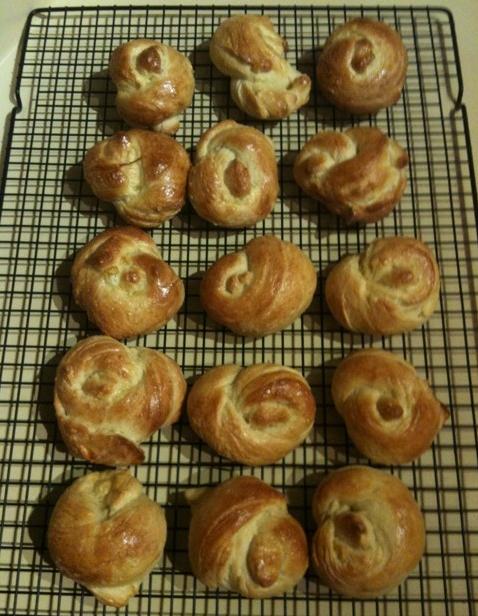
- *To make rolls: Follow the steps to prepare the dough, and let it rise until it is doubled in size. Divide the dough into 15-16 even pieces (about 2 oz. [weight] each), and craft into desired shape. Brush with egg wash (as you would the bread), and bake at 350 degrees F for 20 minutes. Cool completely on a wire rack.