Delicious and Easy Pita Bread Recipe
Are you tired of store-bought pita bread that lacks that fresh, homemade flavor? Look no further than this Mignon’s Pita Bread recipe! As an Israeli chef, I have perfected the art of making traditional pita bread, and I am excited to share my recipe with you.
There is nothing quite like the satisfaction of making your own bread from scratch, and pita bread is no exception. The warm, comforting aroma of fresh-baked bread and the soft texture of the warm pita pocket are truly unbeatable.
Whether you are using it to make a classic falafel sandwich or as a dipper for hummus, this pita bread recipe is versatile and can be used in a variety of ways. Plus, it’s easier to make than you might think!
So, roll up your sleeves and get ready to impress your friends and family with your homemade pita bread skills. Trust me; they won’t be able to resist the smell or taste of these delicious bread pockets.
Why You’ll Love This Recipe

Who doesn’t love fresh, warm bread? But what if I told you that you could make your own homemade pita bread, with just a few simple ingredients and minimal effort? This Mignon’s Pita Bread recipe is easy enough for even novice bakers to master, yet yields impressive results that will have your family and friends begging for more.
One of the best things about this recipe is its versatility. You can stuff these pocket breads with anything from classic falafel to grilled chicken or veggies. And let’s not forget how perfect they are for dipping in hummus, tzatziki sauce or tomato salsa!
Not only do homemade pita breads taste fresher and more delicious than store-bought varieties, but they’re also healthier too. You have control over the quality of ingredients used, and can opt for whole wheat flour or spelt flour for added nutritional benefits.
Plus, by making your own bread pockets, you can customize their size to suit your needs. Make smaller pitas for appetizers or mini sandwiches, or larger ones for a hearty lunch or dinner.
So why will you love this recipe? Simply put, it’s a game-changer. The satisfaction and pride in creating something from scratch is unmatched, and the taste and texture of these pita pockets will far exceed your expectations. It’s time to stop settling for sub-par store-bought pitas and start creating your own fresh-baked version with Mignon’s Pita Bread recipe.
Ingredient List
Here’s what you’ll need to make 10 pieces of Homemade Pita Bread. Don’t forget to measure everything precisely for perfect results.
Ingredients:
- 2 cups unsifted flour
- 1 tablespoon active dry yeast
- 1 tablespoon sugar
- 1 teaspoon salt
- 2 teaspoons olive oil
- ¾ cup warm water
All of these ingredients are easily available in your kitchen pantry or can be found at your local grocery stores.
The Recipe How-To
Now comes the fun part- making the pita bread! This recipe makes about 8 pita pockets, and the process is fairly simple. Here’s how it goes:
Ingredients:
- 2 cups unsifted flour
- 1 tablespoon dry yeast
- 1 tablespoon sugar
- 2 teaspoons salt
- 1 cup tepid water
Instructions:
- In a large bowl, thoroughly mix together 2 cups of flour, sugar, salt and dry yeast.
- Gradually add water to the mixture while beating with an electric mixer or stand mixer for about 2 minutes on medium speed, until dough has formed.
- Knead the dough on a floured surface until it is no longer sticky. Place the dough in a large, lightly greased bowl and cover with plastic wrap or a damp towel. Let rise on a warm surface for approximately one hour, or until doubled in size.
- Preheat your oven to 475°F (246°C).
- Divide the risen dough into 8 equal parts using a knife or kitchen scissors.
- Roll out each piece of dough on a lightly floured surface to form a circle roughly 7 inches in diameter and around ¼ inch thick.
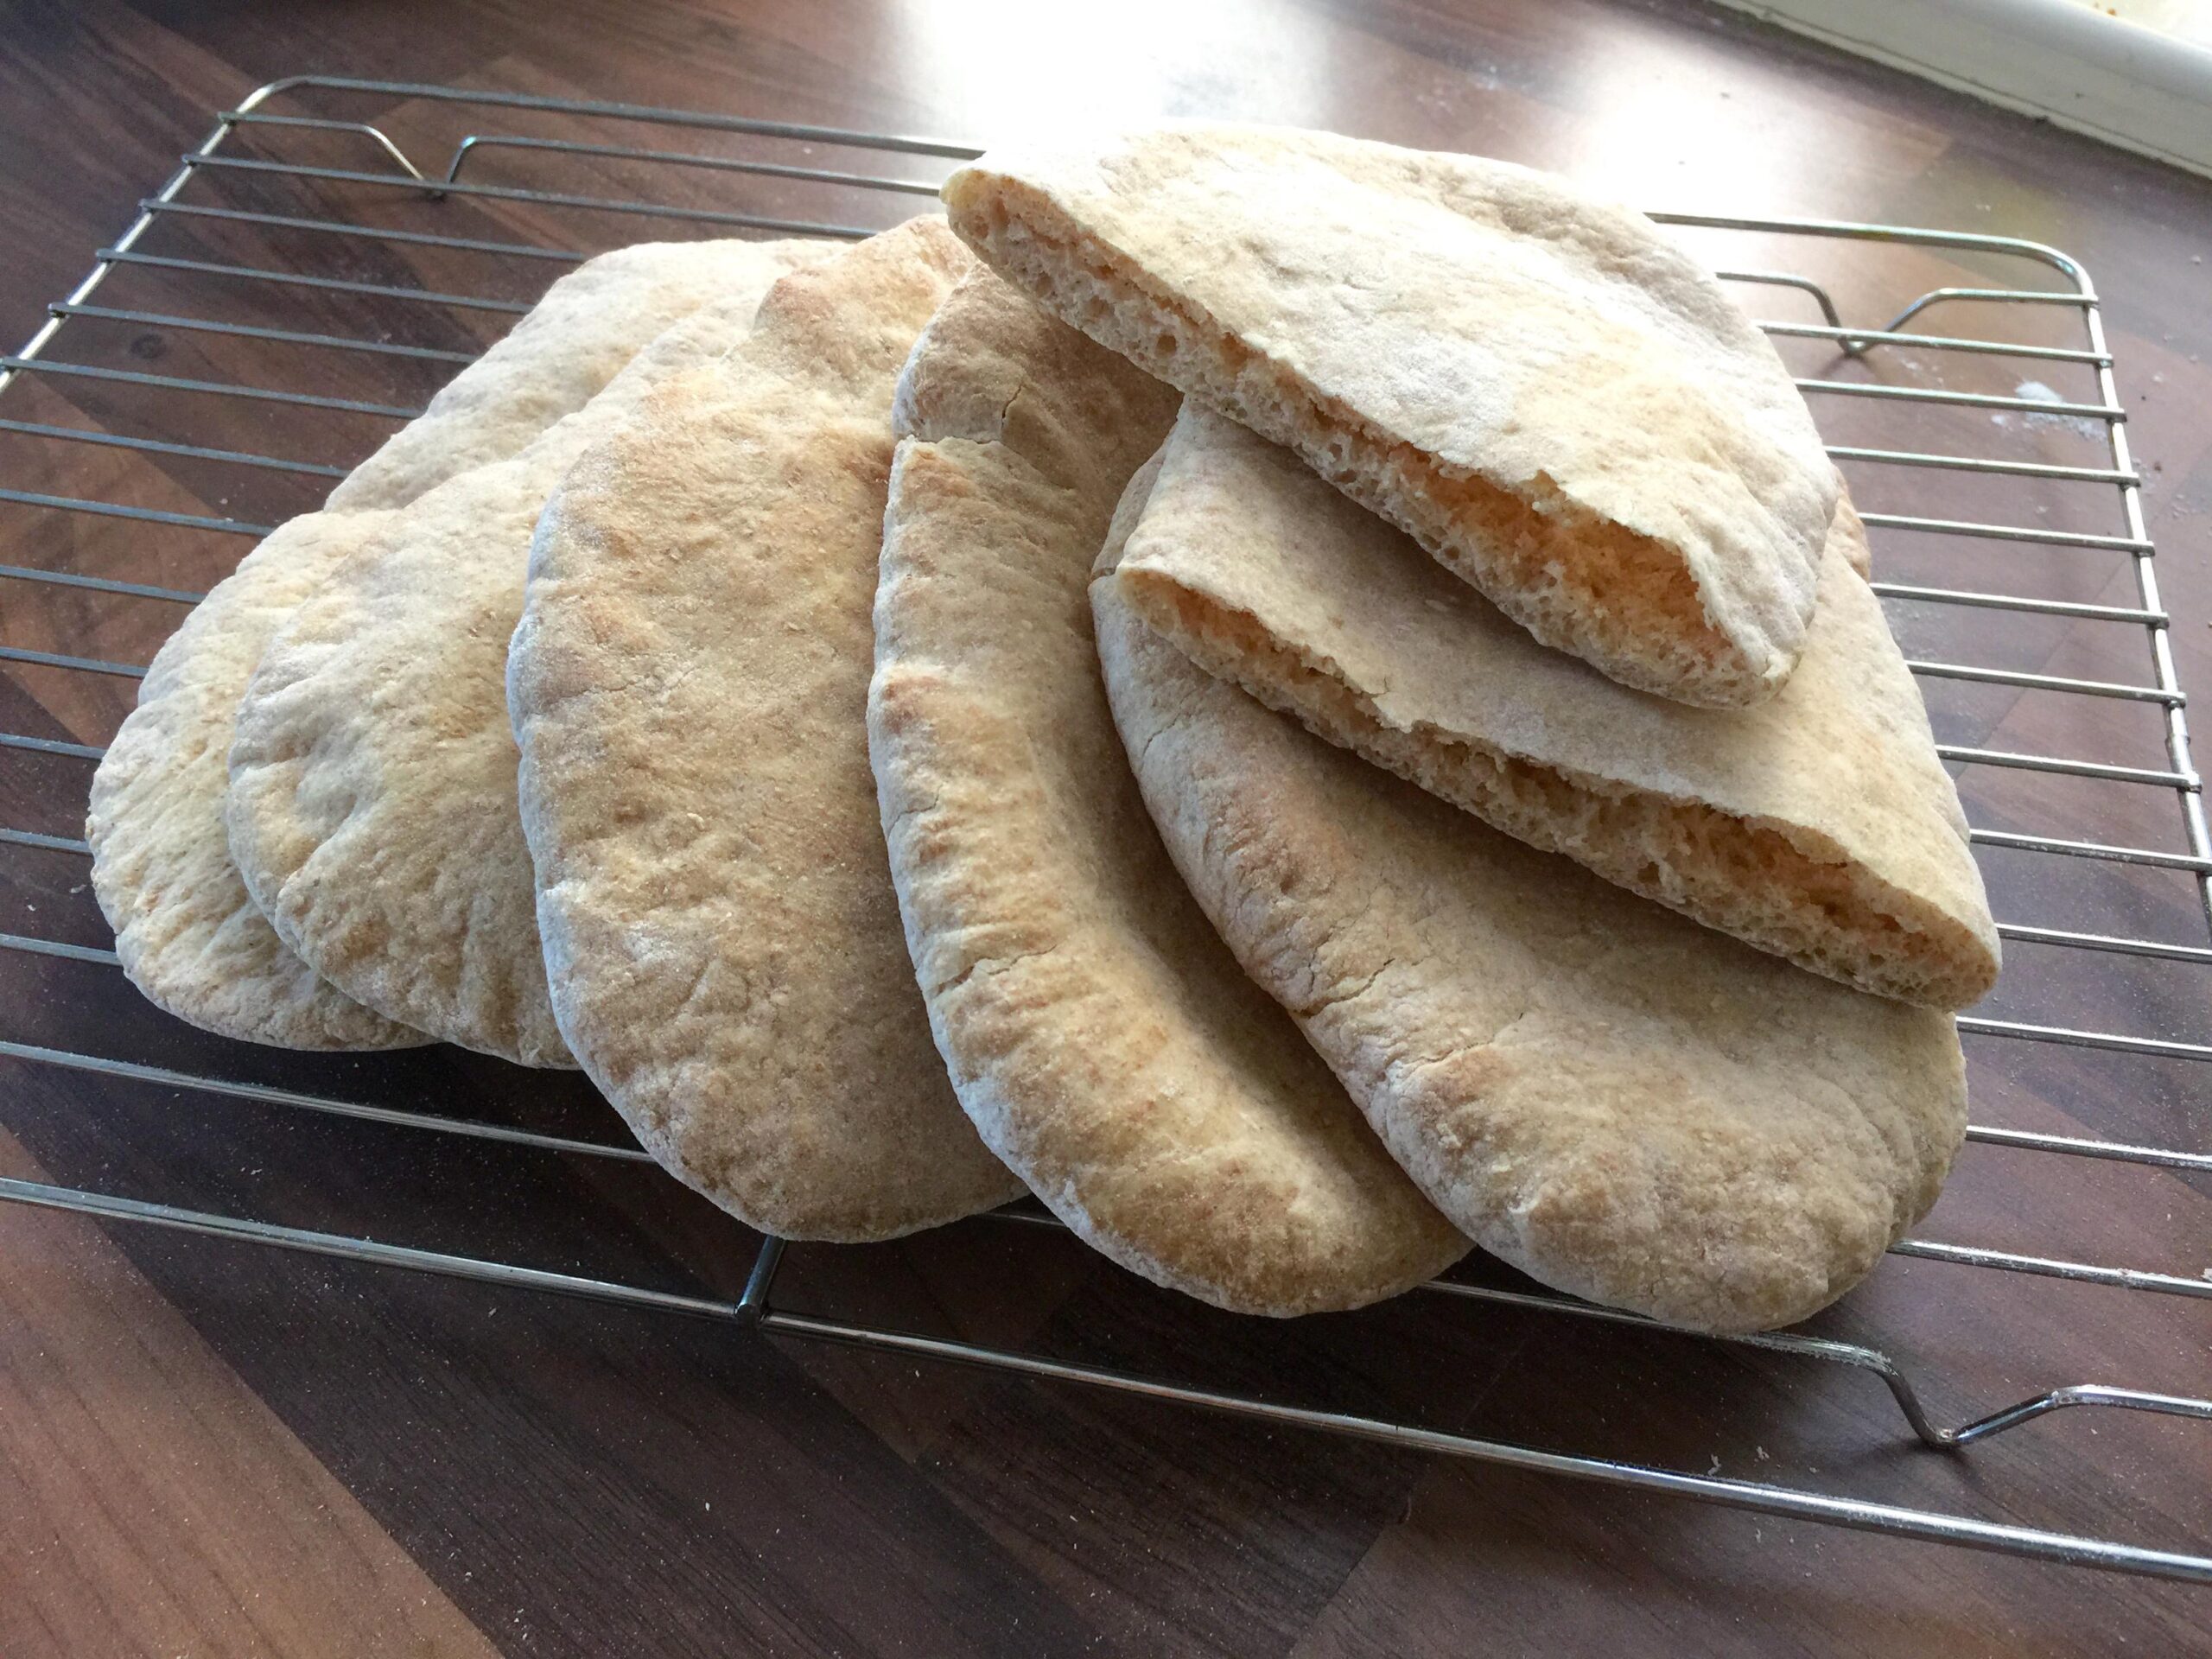
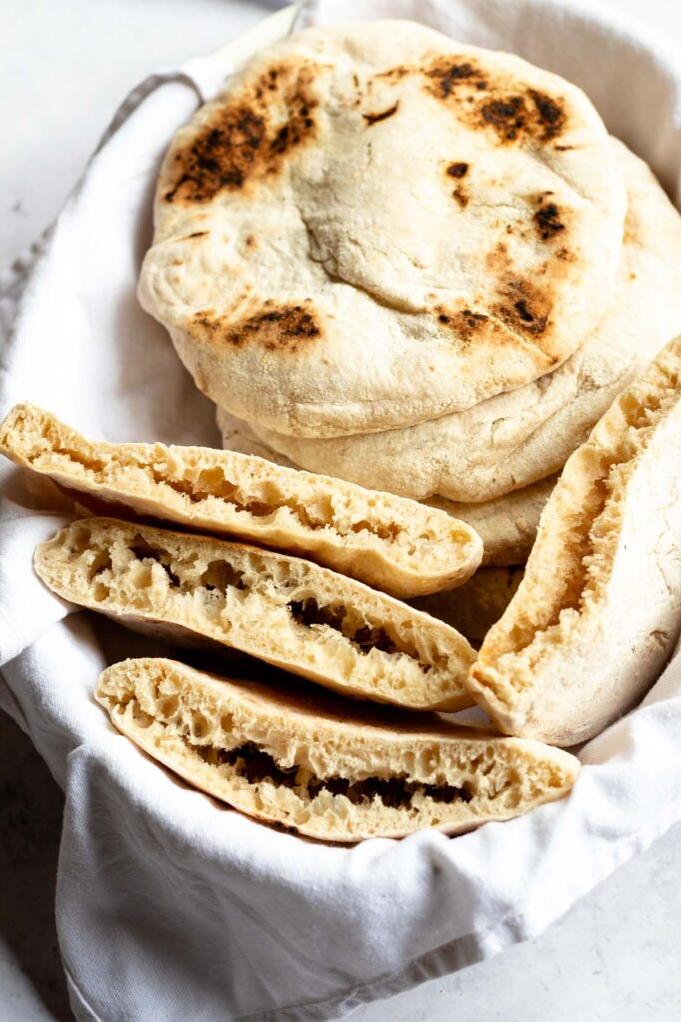
- Bake each pita round individually by placing it directly onto your oven rack for around 4 minutes. The pita should puff up while cooking and may even have some blistering- this means it’s working!
And there you have it! Your very own homemade pita pockets ready to be filled with whatever your heart desires.
Tips for Perfect Results
- Be sure that your yeast is fresh before starting.
- Knead the dough well for best texture.
- Use high gluten flour or bread flour if possible for a better rise.
- Be careful not to overcook or undercook the pitas; they should only take around 4 minutes total in a hot oven.
Now you can enjoy fresh, warm pita bread at home anytime!
Substitutions and Variations
Pita bread is a versatile bread that can take on different variations and flavors. I always love experimenting with recipes, and this recipe is no exception. While the original recipe calls for unsifted flour, you can substitute it with spelt flour to make it more nutritious.
Another exciting variation to try is using a bread machine instead of mixing the ingredients by hand. If you’re short on time or don’t want to knead the dough, this could be an excellent option for you. You will simply need to put all the ingredients in your bread machine and set it to the desired dough setting.
If you like Italian-style pita sandwiches, you can switch out regular salt for garlic salt and add some Italian seasoning to the flour mixture. And for those who love Greek food, using some dried oregano and swapping half of the flour with whole wheat flour can make a perfect Greek pita.
You can use this pocket bread recipe as a base for your creativity and enjoy endless possibilities with your favorite seasonings and flavorings. If you’re adventurous, try adding your preferred flavors like sun-dried tomatoes, cheese, or even olives.
If you are vegan or vegetarian, fret not – this recipe can still work for you! Instead of filet mignon steak, fill up your pocket pita bread with roasted vegetables like zucchini, bell pepper slices, eggplant chunks or mushrooms.
Whichever variation or substitution you choose will still yield great results every time, so let your imagination run wild and create tasty foods that fit your preferences!
Serving and Pairing
Now that your homemade pita bread is ready, it’s time to explore all the delicious fillings you can stuff into those pockets! One classic option is to simply add fresh lettuce and sliced tomatoes, which creates a light, refreshing and healthy lunch. You can even add shredded cheese, grilled chicken, salmon or steak for extra protein.
For something with a bit more punch, try filling your pita pockets with hummus, falafel and tzatziki sauce. These Mediterranean-inspired flavors will take you on a trip to the old world. You can also add some grilled bell peppers and onions for added texture and depth.
If you’re feeling adventurous why not try an Italian Pita sandwich? Fill these Mediterranean pockets with marinara sauce, mozzarella cheese, pepperoni slices, sliced meatballs, and roasted vegetables served hot as panini-style snacks!
Served in combination with some fresh vegetables and fruits like carrots, cucumber slices, apples or grapes make it a well-rounded and nutritious meal. Of course, an ice-cold glass of lemonade would be perfect for quenching your thirst while you enjoy these delightful homemade pitas.
Pita bread also serves great as an appetizer such as oven-roasted eggplant dip or luscious garlic hummus which you can serve with varied toppings like olives and feta cheese. Whether you choose Middle Eastern-style falafel sandwiches or American-style veggie burgers, pita bread is the perfect pocket to hold your gourmet creations in place!
Remember to experiment and try different combinations until you find your perfect match. Enjoy!
Make-Ahead, Storing and Reheating
Once you’ve baked your Mignon’s Pita Bread, you may find yourself with leftovers that require reheating or storage. Luckily, pita bread is a versatile and resilient bread that can be stored or reheated in numerous ways without compromising its taste and texture.
To store Mignon’s Pita Bread, make sure it has cooled down completely. Then, store it in an airtight container or freezer-safe bag to prevent it from drying out. You can keep it at room temperature for up to two days, or in the freezer for up to three months. Just make sure to let it thaw at room temperature before using it again.
If you want to reheat your pita bread before eating, there are a few methods you can use. One option is to wrap it in foil and pop it in the oven for a few minutes until warmed through. Alternatively, you can heat it directly over an open flame or grill for a few seconds on each side. This will give your pita bread a smoky flavor and slight crunch.
To serve your warm pita bread, cut it open with a sharp knife to form a pocket, then fill it with your favorite ingredients like filet mignon steak, Greek pita salad, lettuce and tomato or hummus and falafel. Pita bread is great for sandwiches or as a delicious side dish to curries or stews.
In conclusion, Mignon’s Pita Bread recipe is perfect for making ahead of time and storing for later use. With so many options for reheating and serving this versatile bread, you can enjoy the taste of fresh pita bread anytime, anywhere!
Tips for Perfect Results
Now that you know how to make this delicious pita bread recipe, I want to share some tips with you to ensure that your pita bread pockets are perfect every time.
Firstly, make sure you use unsifted flour. Sifting the flour can result in a lower protein content, which affects the structure of the dough.
Secondly, activate your yeast by adding warm water and sugar. This will absorb moisture, making it easier for the yeast to do its job.
Thirdly, knead the dough well for at least 10 minutes. Kneading not only helps to evenly distribute ingredients but also helps in the development of gluten, resulting in a chewy texture and airy pockets.
Fourthly, rest your dough for 45 minutes before baking. Resting allows the yeast to work on the dough and develop all its flavor.
Fifthly, preheat your oven and baking surface well before baking. The hotter the oven, the better it is for pocket formation.
Sixthly, don’t crowd your tray when baking. Each pita bread needs space to rise and cook evenly.
Finally, once removed from the oven, place them in a plastic bag or container while still hot. This will help them retain their moisture and stay soft for longer periods.
By following these tips, your homemade pita bread pockets will be perfect every time!
FAQ
Now that you know how to make Mignon’s Pita Bread or Pocket Bread Recipe, it’s time to answer some frequently asked questions to help you achieve perfect results every time. Let me share with you some tips and recommendations based on my experience with this recipe over the years. So, without further ado, let’s dive into the FAQs!
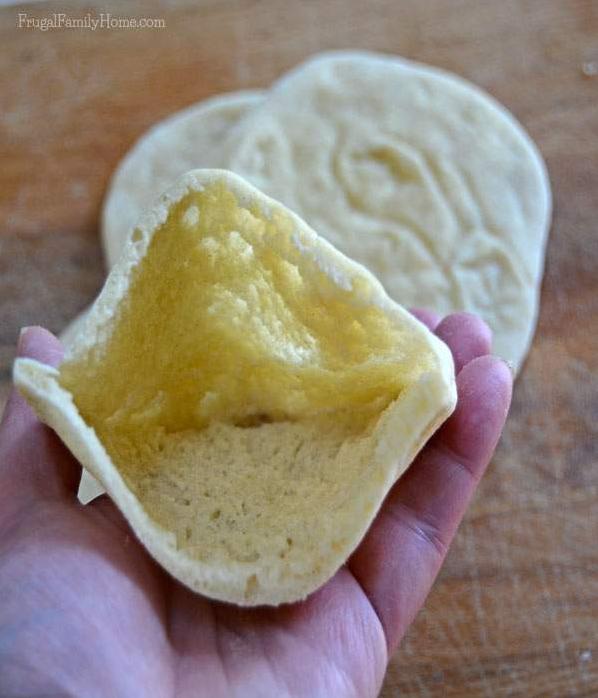
What makes the pocket in pita bread?
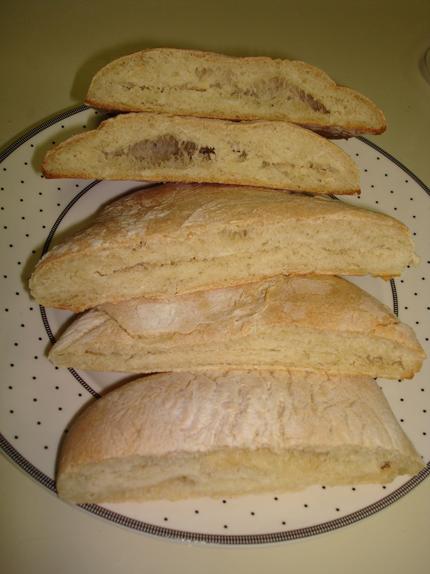
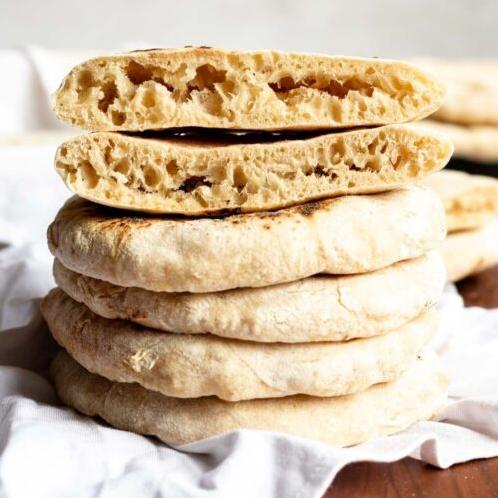
When making pitas, a common method is to bake them at high temperatures ranging from 450 F to 475 F. As the dough bakes, the water inside turns into steam and causes the pita to inflate and create a hollow center. Once removed from the oven, the layers of cooked dough remain distinct inside the pita, making it easy to slice open and form a pocket.
How do you make pita bread puff up?
Achieving perfectly puffed pitas requires a scorching hot oven. If the oven’s temperature is too low, your pitas will fall flat, which no one wants. The secret to success is cranking up the heat as high as possible and preheating your oven with a baking steel or stone. Doing so will ensure that the heat is retained and steam is created, which gives the pitas their puff.
How to use pita bread?
Pita bread is an all-purpose utensil that can be used to scoop a wide variety of foods, from dips like hummus and tahini sauce to thick soups, meats, and vegetables. Its pocket-like shape makes it a handy tool to replace a fork or spoon if you find yourself without any.
Bottom Line
In conclusion, making your own homemade pita bread or pocket bread is a fun and rewarding experience that is sure to impress your family and friends. With just a few simple ingredients and some basic equipment, you can achieve delicious and perfect results.
The Mignon’s Pita Bread recipe is a fantastic choice for anyone who is looking for a reliable and tasty recipe that is easy to make at home. Its rich and fluffy texture makes it perfect for creating mouth-watering pockets to fill with all kinds of fillings. From classic falafel and hummus, to juicy slices of filet mignon steak, or even Greek-style pita sandwiches, the possibilities are endless.
So why not skip the store-bought pita bread and give this homemade version a try? You’ll be amazed by how much better it tastes, plus you’ll have the satisfaction of knowing exactly what went into it. And with our helpful tips and tricks, you’ll be sure to get perfectly-formed pockets every time.
So gather your ingredients, put on some good music, and get ready to make delicious homemade pita bread that everyone will love!
Mignon’s Pita Bread / Pocket Bread Recipe
Ingredients
- 5 -6 cups unsifted flour
- 1 tablespoon sugar
- 2 teaspoons salt
- 1 1/4 ounces dry yeast
- 2 cups water, very warm
Instructions
- In a large bowl throughly mix 2 cups flour, sugar, salt and yeast.
- Gradually add the water and beat for 2 minutes at medium speed.
- Add 1 cup flour and beat on high speed for 2 minutes.
- Stir in enough flour to make soft dough.
- Knead the dough on high for 8 minutes.
- Place in a greased bowl, turn and raise for an hour.
- Punch the dough down and put on a flour covered board and rest for 30 minutes.
- Divide into 8 pieces. Roll each one into a 6 inch circle.
- Bake for 5 minutes in a 450-500°F oven on lowest shelf.
- Broil for 1-2 minutes on the top shelf until desired brown on top.
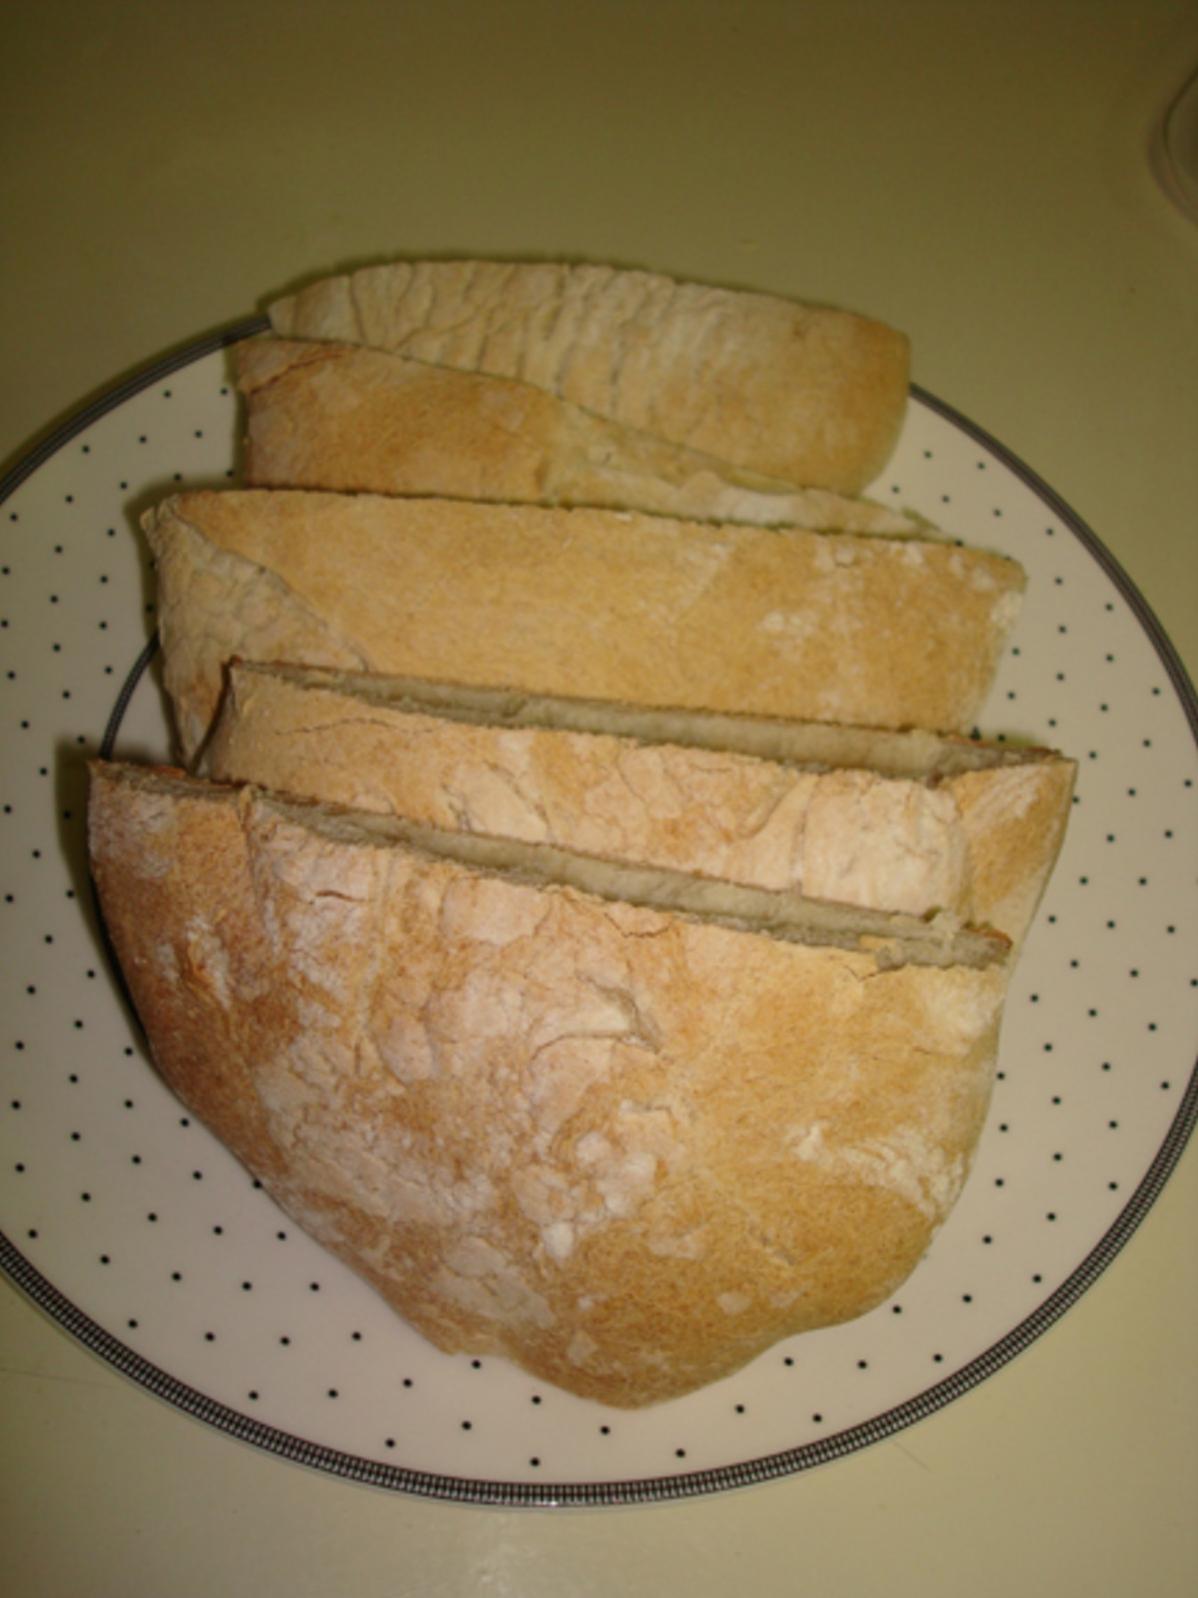
- Cut them while they are still hot - either into a pocket or in half.